Feedback
Reply
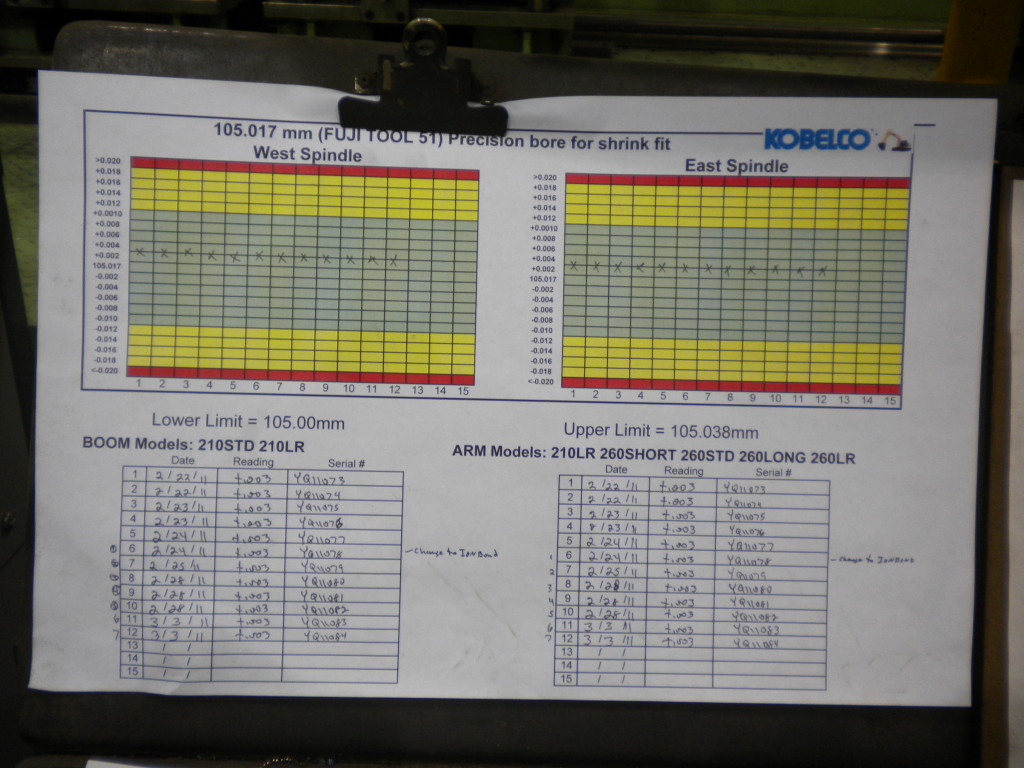
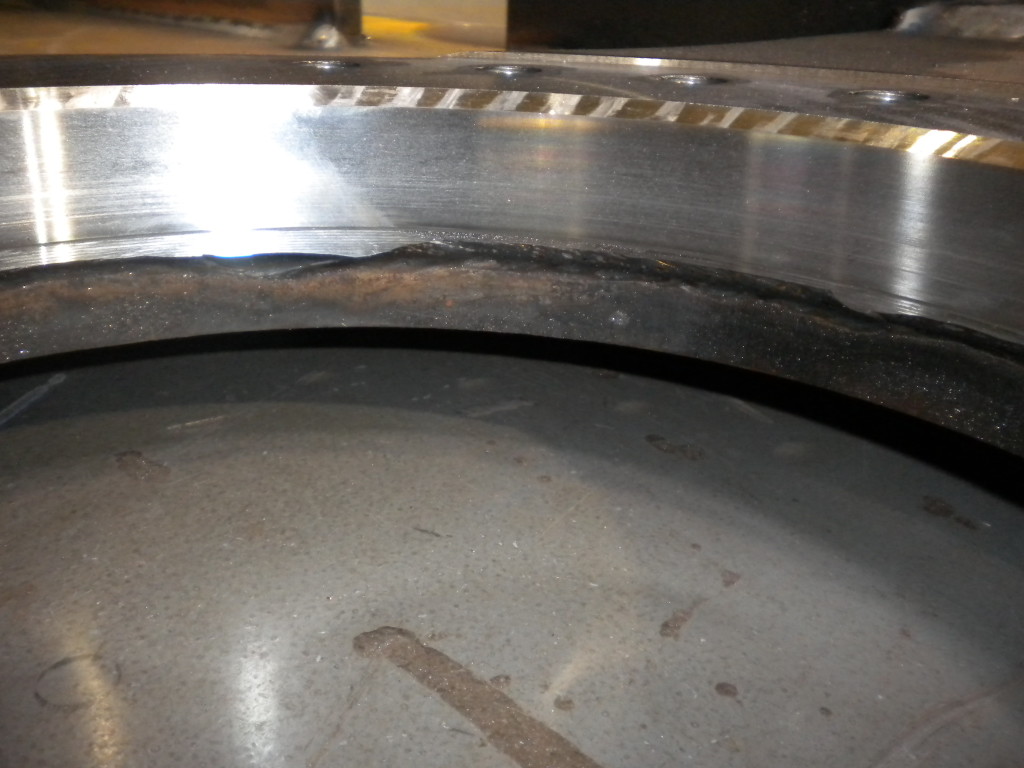
When I first embarked on a campaign to knock seconds out of my CNC cycle times, a few eyebrows were raised. The doubters lacked the experience to realize that just about every quality deficiency or design change would add task steps and cutting time to the CNC cycle. Multi million dollar CNC machining centers usually do not have spare capacity. The direct feed back made this a good starting Kaizen project to tackle with my machining team. Our successful effort was just in time to support the next generation of models which included additional machined features. Next on the Kaizen plate was an attack on cutting tool usage. Even though we utilized the excellent feedback loop of a run chart, the actual life of the cutting edge was poor. Fortunately introduction of TiALN coating of the carbide inserts eliminated the size drift of the bored hole. We were happy about the resultant $250,000 annual reduction in cutting tool purchases and the saving in down time related to cutting edge replacement, but we lost our run chart feedback loop. The cutter held bore size until it chipped. We needed a new feed back loop. In the short term we switched to 100% guaging of every part. When an edge chipped we replaced, reset and rebored before removal of the part from the fixture. This proved cumbersome. Our team wanted to automate measurement using the CNC and the probe. Combo cutters were designed and purchased to knock more seconds out of the cycles. We had switched to through spindle oil mist lubricant to save part washing and smell. More feedback required. An artifact was added to the fixture with a reference bore size so that the probe could be calibrated to measure the part at the current ambient temperature. We had lost the temperature stability that comes with flood coolant. We discovered that it was not enough to detect the wear of the finishing cutter. A chipped roughing cutter also spoiled the bore roundness. This is especially true when it is also necessary to cut through weld. Using good visual management feedback practice the roughing cutter was helix orbitted to replace the lead in chamfer with a counterbore. Finally we closed the loop. The probed rough and finish diameter measurement presented the correct tool for cutting edge swap immediately upon encountering a worn insert. Modern machined accuracy is always the result of properly planned feedback


